Oregon Light
Replacing old fiber optic pool lights with modern LED options can seem daunting. Yet, the process can be streamlined. "How to replace an old fiber optic pool light with LED?" is a common question among pool owners today. Expert Jake Thompson, a renowned pool lighting contractor, once stated, "Switching to LED will not only brighten your pool but also enhance its energy efficiency."
Transitioning from fiber optics to LED offers numerous advantages. LEDs are more durable, cost-effective, and energy-efficient than their predecessors. However, not everyone feels confident tackling this project alone. Some may find the task overwhelming. It’s important to gather the necessary tools and materials ahead of time.
Take your time with each step. Rushing can lead to mistakes. Understand the layout of your pool's lighting system before starting. Proper research and preparation will be your best allies. Remember, this upgrade is an investment that enhances the beauty and functionality of your pool.
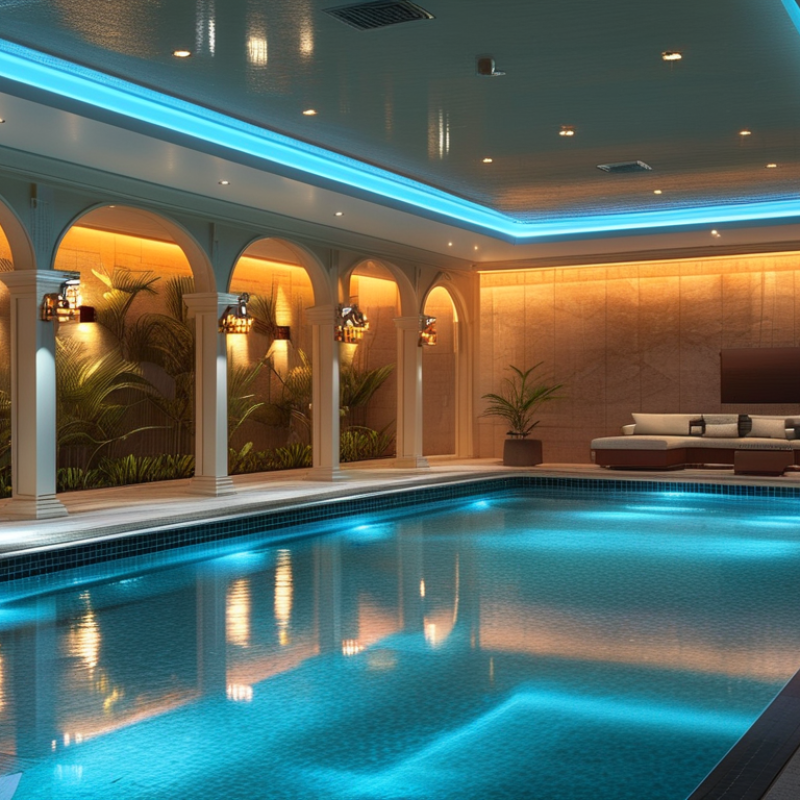
Fiber optic pool lights have gained popularity in recent years for their bright, vivid illumination. These lights use fiber optic cables to transmit light from a remote source. They provide a unique ambiance to your pool area while being energy efficient. However, understanding their basics is crucial for proper maintenance and upgrades.
Employing fiber optics means that the lights are generally low-voltage. This safety feature makes them ideal for wet environments. They consist of a light source, typically a halogen bulb, and a network of thin optical cables. Over time, the halogen bulbs may dim or burn out, leading to a need for replacement. It’s essential to recognize the signs of wear, such as flickering or inconsistent brightness.
Transitioning to LED lights can significantly enhance your pool experience. LEDs consume less energy and have a longer lifespan than traditional fiber optics. When replacing the old system, a careful approach is needed. Disconnecting the old light source and ensuring proper sealing is crucial to prevent water leaks. Adapting to new technology is never easy, but the benefits of brighter, longer-lasting lights can greatly improve your pool atmosphere.
When replacing an old fiber optic pool light, assessing its condition is crucial. Start by inspecting the light fixture for any visible damage. Look for cracks, corrosion, or broken fibers. These signs can indicate that the light has reached the end of its lifespan. Without proper functioning, the light will not provide the desired ambiance.
Next, check the fiber optic cables. Ensure they are not frayed or brittle. Over time, UV exposure and pool chemicals can degrade the materials. A thorough inspection of connections is also important. Loose connections can lead to flickering lights or total failure.
Consider the age of your system. Fiber optic technology can last several years, but sometimes, the components age unevenly. Reflect on when you last replaced the bulb or serviced the system. This can help you determine if it's time for an upgrade. Pay attention to any performance issues, as they can signal a need for immediate action.
When considering a replacement for your old fiber optic pool light, selecting the right LED option is crucial. According to a 2020 report from the National Association of Realtors, energy-efficient upgrades can enhance property value by up to $10%.
LEDs are a great choice, as they consume at least 75% less energy than traditional options. This translates to significant savings on energy bills while providing bright and appealing illumination.
It's important to consider color temperature when choosing your LED lights. Color temperatures typically range from warm white (2700K) to cool white (5000K). Warm white creates a cozy atmosphere, while cool white enhances visibility.
A study from the Lighting Research Center suggests that using cooler lighting in pool areas can reduce accidents by improving visibility at night. Additionally, ensure your chosen LED lights are waterproof and rated for underwater use to avoid electrical hazards.
Compatibility is another important aspect. Ensure that the new LED fixture fits your existing setup. Many old systems may require a specific adapter. If unsure, consulting with a pool specialist can save time and potential headaches. Finally, decisions should reflect personal preferences as well as functionality.
Balancing aesthetics and practicality might require some trial and error in light selection. An ideal choice will elevate your pool area while staying within budget.
Replacing an old fiber optic pool light can enhance your pool's ambiance and safety. Removing the old fixture requires careful attention. Start by turning off the power supply to avoid any electrical hazards. Make sure to wear gloves and safety goggles to protect yourself.
Once you have ensured safety, locate the fiber optic cable. Pull gently on the cable while unscrewing the fixture. Be cautious; excessive force can damage the cable. You might find it helpful to use a flashlight to inspect the area properly. Sometimes, stubborn fixtures need more effort to detach, but patience is key.
**Tips:** Always document the wiring setup before removal. Taking a photo can help during reinstallation. If the old fixture is heavily corroded, consider applying a lubricant. This can ease the removal process, but be careful not to overuse it.
As you proceed, keep your workspace clean. Remove any debris or dirt that might obstruct your work. Maintaining organization can save time and effort. Additionally, involving a helper can streamline the process. Two pairs of hands often makes a task easier and safer.
| Step | Description | Tools Required | Safety Tips |
|---|---|---|---|
| 1 | Turn off the power supply to the pool light. | Screwdriver, Flashlight | Ensure the electricity is completely turned off. |
| 2 | Remove the old fiber optic light fixture from the mounting. | Screwdriver, Pliers | Wear gloves to protect your hands. |
| 3 | Disconnect the fiber optic cables from the old fixture. | Wire Cutters | Be cautious of sharp edges while cutting. |
| 4 | Install the new LED light fixture. | Screwdriver | Ensure a tight fit to prevent leaks. |
| 5 | Reconnect any power sources and check connections. | Voltage Tester | Double-check all connections before turning power on. |
| 6 | Restore power and test the new LED light. | Monitor for any flickering or issues. |
When installing your new LED pool light, efficiency is key. Start by gathering all necessary tools and materials. A screwdriver, wire connectors, and safety goggles should be on hand. Check your power source before starting, ensuring it’s turned off. This avoids any accidents during installation and is essential for safety.
Before heading to the pool, prepare the old fiber optic light for removal. Carefully disconnect it to prevent damage to any wiring. Having someone assist can make this easier. Once removed, clean the socket where the old light was. Dirt and debris can affect the installation of the new LED light.
Tips: Test the power supply once more before plugging in the new light. Ensure your connections are secure. Loose connections can lead to flickering lights or even failure. Additionally, consider the depth of your pool when choosing the position for your new light. A strategic placement will enhance visibility and aesthetics.
Remember, it might take time to adjust to the new setup. Don't rush the process. It’s okay to revisit connections if the light isn’t functioning as expected. Always monitor the installation over the first few days, checking for any issues. Your patience will pay off in the end with a beautifully lit pool.
: Inspect the fixture for cracks, corrosion, or broken fibers. These indicate potential failure.
Ensure they are not frayed or brittle. UV exposure can degrade them over time.
Reflect on when you last replaced the bulb. Components age unevenly; being aware helps.
Gather tools like a screwdriver and wire connectors. Safety goggles are also essential for protection.
Turn off your power source to avoid accidents. Check it again before connecting the new light.
Clean the socket, ensure secure connections, and avoid dirt. This helps to prevent flickering issues.
Revisit your connections and monitor it closely for a few days. Patience can lead to success.
Consider the pool depth when choosing the light's position. Proper placement enhances visibility and aesthetics.
In the article "How to Replace Old Fiber Optic Pool Light with LED Quickly?", we explore a comprehensive approach to upgrading your pool lighting. It begins with understanding the fundamentals of fiber optic pool lights, which is essential for assessing the condition of your existing unit. The next step involves selecting the right LED replacement that suits your pool's needs, ensuring you make an informed choice.
The article then provides a step-by-step guide on how to safely remove the old fiber optic light, followed by instructions on efficiently installing your new LED pool light. This process not only enhances the aesthetic appeal of your pool but also contributes to improved energy efficiency. By following these guidelines, you will easily learn how to replace an old fiber optic pool light with LED, transforming your swimming experience.